|
<< Click to Display Table of Contents >> Adding a new printer |
  
|
|
<< Click to Display Table of Contents >> Adding a new printer |
|
The information in this topic applies to adding a new printer under Windows 95/98/Me. The screen shots used in the topic were taken from Windows Me.
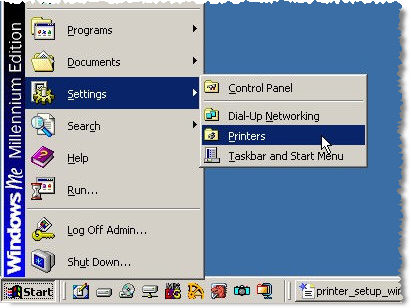
Open the Printers folder by clicking Start > Settings > Printers. The Start button is in the lower left corner as shown in the following screen shot:
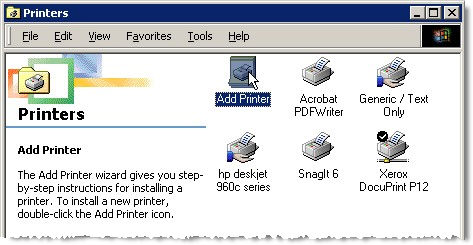
Double-click the Add Printer icon to start the Add Printer Wizard.
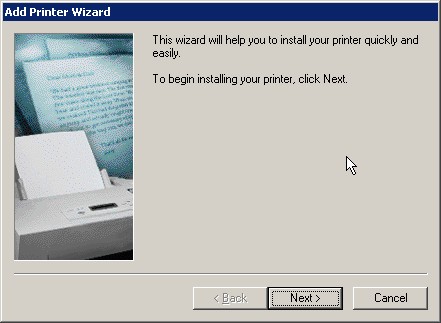
The Add Printer Wizard is shown below. To begin installing your printer, click Next.
The first thing you must specify about you printer is how it is attached to you computer. You must select whether you printer attached directly to your computer (local printer) or whether you will be accessing it over a network connection (network computer). We will assume that it is a local printer. Make sure Local printer is select and click Next.

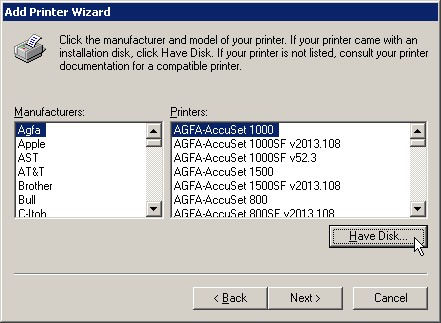
Now we have to select the manufacturer and model of printer we want to install. We are going to install an Okidata ML320 Turbo printer by using the device driver files that where originally downloaded from the Internet. In order to do this we click Have Disk.
After clicking Have Disk the Install From Disk dialog will be displayed. The default location for driver files is assume to be drive A: (the floppy drive). However, the files we want to install are located on the Windows system disk (which we will assume is drive C:) in the folder \OKIML3201. Click the Browse button so that we can specify where the manufacturer's files are located.

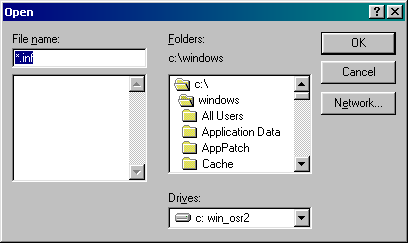
Once you have clicked the Browse button, an Open dialog will be displayed. The default folder is C:\Windows. From this folder we have to traverse to the folder where the printer drive files are located (in the case C:\OKIML3201).
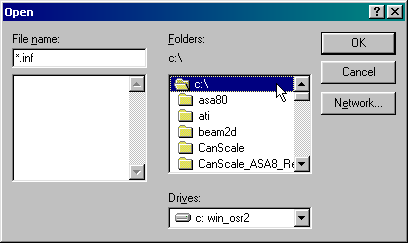
The first step is to double-click the C:\ in the Folders listbox.
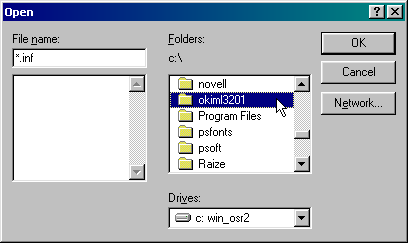
Now move the scroll bar at the right of the Folders listbox down until the OKIML3201 folder becomes visible. Now double-click OKIML3201.
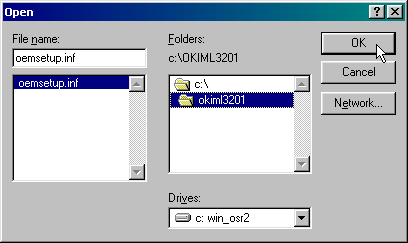
The driver information is stored in the file oemsetup.inf. It should be the only .inf file in the OKIML3201 folder and it should be automatically be selected. If it's not, select it by clicking oemsetup.inf in the listbox below File name. Click OK to continue.
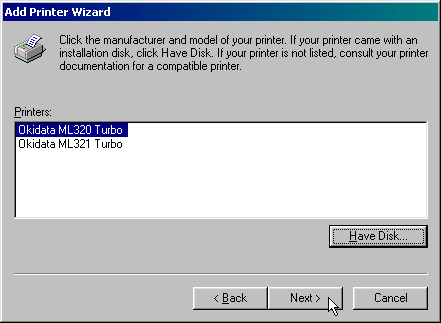
Select either the ML320 (narrow carriage) or ML321 (wide carriage, seldom used) and then click Next to continue.
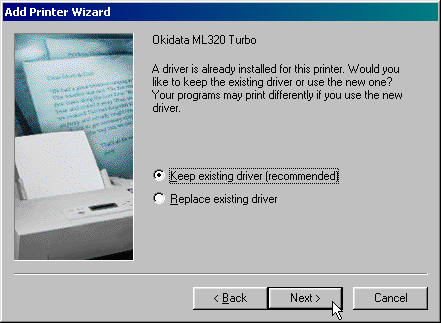
If you are adding a printer that is exactly the same as an existing printer, you will be prompted to keep or replace the existing driver. We select recommend keeping the existing driver. Click Next to continue.
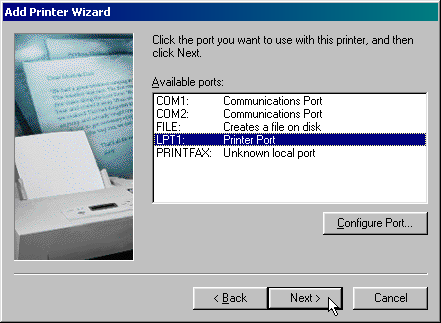
Because we chose to not to automatically detect the printer we have to select what port the printer is connected to on the PC. Choose LPT1 unless you are absolutely sure that you are using one of the other ports that are listed. Click Next to continue.
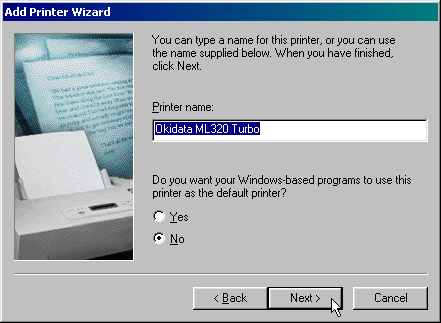
You will be given an opportunity to assign a Name to your printer. When you have input your printer's name, click Next to continue.
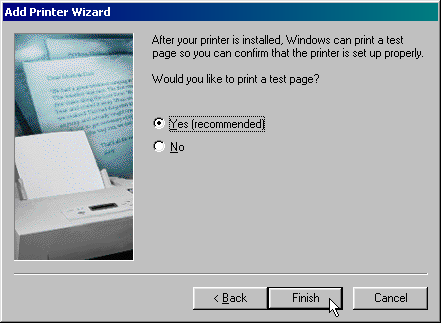
If your printer is connected to the computer and is powered up, select Yes and click Finish to send a test page to the print spooler. Make sure that there is paper in the printer!
Once the test page has been sent to the print spooler, the test page should start to print and the following dialog will be displayed:
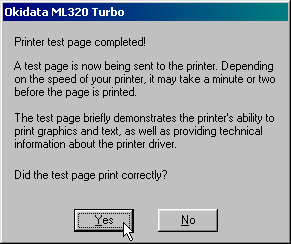
Click Yes to complete the Add Printer process.