This topic provides a brief overview of methods that can be used to customize page layout, margins, header and footer content within Report pages. The page setup for each report is specific to that report. The page setup is saved if it is modified and reloaded whenever the Report is generated in the future.
To open the Page Setup dialog, click File > Page Setup.
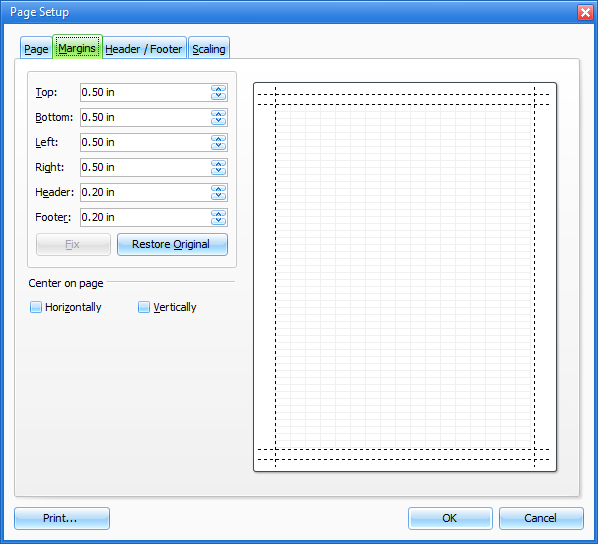
Page margins can be set using the controls on the left side of the Margins tab or by dragging the margins on the example page. You can also center the report within the printed page. Use the check boxes at the page's bottom edge for this purpose.
The Header/Footer tab enables you to customize header and footer content. You can use static text, predefined functions or a combination of the two.
Static text appears exactly as it has been specified. In the example below the text 'By Material' left column of the Header.
Predefined functions are replaced with information when a report is generated. For example, predefined functions can be used to display:
•the current user
•current timer
•page number
•the name of the computer the generated a report
You can enter these using the buttons located within the Predefined Functions group box. The image below shows the Header/Footer page with the customized header content. You can see that [Machine Name] function has been added to the center column of the Header
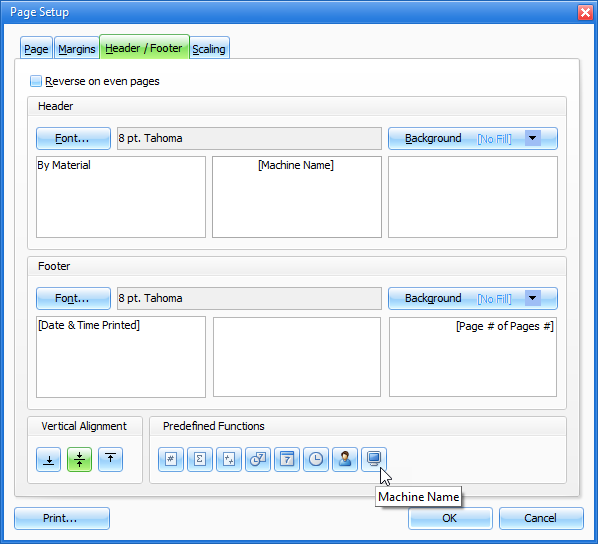
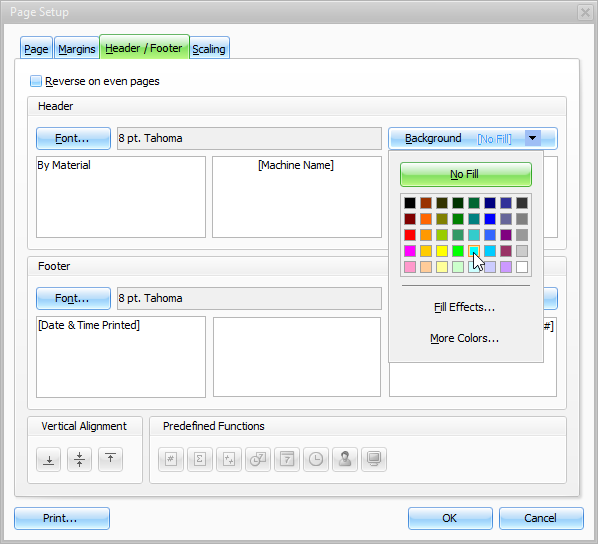
You can change the appearance of the background of both the Header and Footer. Click the Background button will invoke a popup window allowing you to choose a fill color, reset the color to transparent or specify a custom filling (pattern or image).