|
<< Click to Display Table of Contents >> Using the Filter Editor |
  
|
|
<< Click to Display Table of Contents >> Using the Filter Editor |
  
|
Adding a Filter
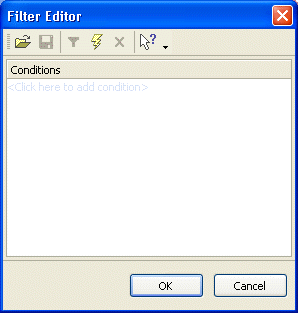
To open the Filter Editor, choose Table > Filter > Edit Filter. The Filter Editor shown below contains no filter conditions.

To add a condition, click on the text <Click here to add a filter condition>. Filter conditions can be saved and re-used.
Apply filter conditions
To apply a filter, set a least one condition and click the Refresh button on the toolbar.
Clearing filter conditions
Click the Clear button on the toolbar to clear all filter conditions. The table will automatically be refreshed after the conditions have been removed.
Saving filter conditions
Filter conditions can be saved to disk and used so that they can be reused. To save a Filter, click the Save button on the toolbar. Filter conditions are saved to disk and can be reused by loading them.
Loading filter conditions
To load filter conditions that have been saved to disk, click the Open button.
Example 1
The examples below show the Filter Editor being used with a ticket table.
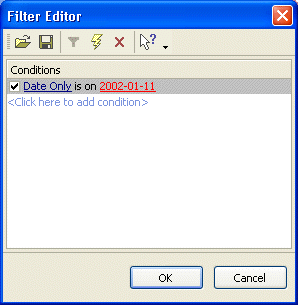
In the first screen shot, the Filter Editor has been used to limit the tickets that are loaded by the Ticket Editor to only those which were created on January 11, 2002.

The tickets that match the conditions (or pass through the filter) are show in the grid below.

Example 2
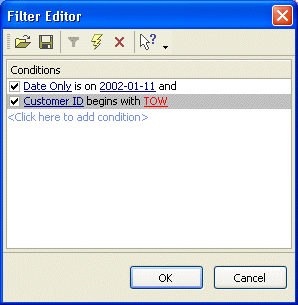
You can specify any number of filter conditions. In the example below, the Ticket Editor will contain tickets where the Date Only column is equal to January 11, 2002 and the Customer ID begins with the letter TOW.

The tickets that match the conditions (or pass through the filter) are show in the grid below.

See also